How to use Coursify.me
Coursify.me was officially launched on June 3 and already has its first users.
Our customers have won the opportunity to disclose their first online course for free, taking the chance to test the product before they decide whether or not to invest in new courses.
Until now the feedback obtained are fairly positive and all received suggestions have already been added to the software, but even now our development team is not with arms crossed. We continue working with exclusive focus on leave your experience with Coursify.me even better.
For those who are in doubt about what will find and whether or not bet on our platform for hosting your online school, see below an explanation on the usability of Coursify.me and check out why it is a solution that is simple to use, easy to understand and still offers all the features that you may need.
How to create your online school on Coursify.me
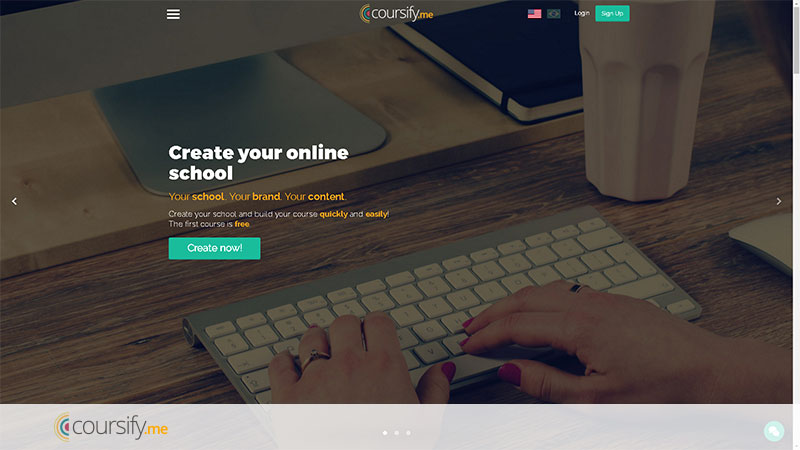
The first thing to do is to access the site of Coursify.me at address https://coursify.me/.
Our site allows navigation in Portuguese or English and asks you to register (or log in if you already owns a register) before starting to use the platform.
Once you do this, you will automatically be redirected to the page that allows you to start creating your school.
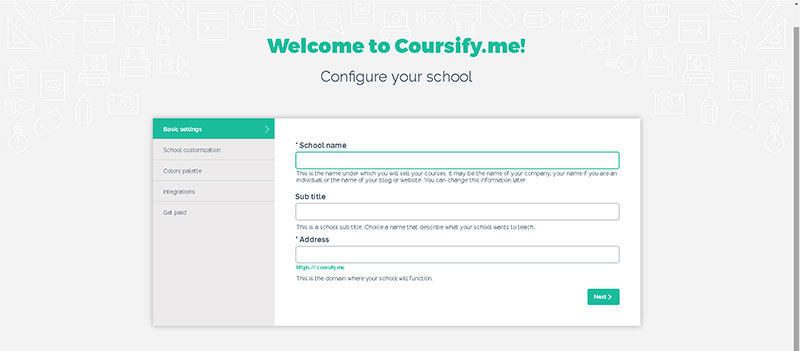
The step by step is quite simple and intuitive and allows you to add all relevant information about your school, making easy for your students to find it. After that, it goes to the part of customization.
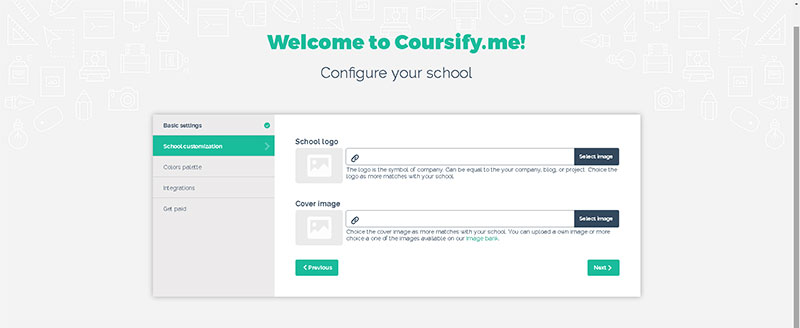
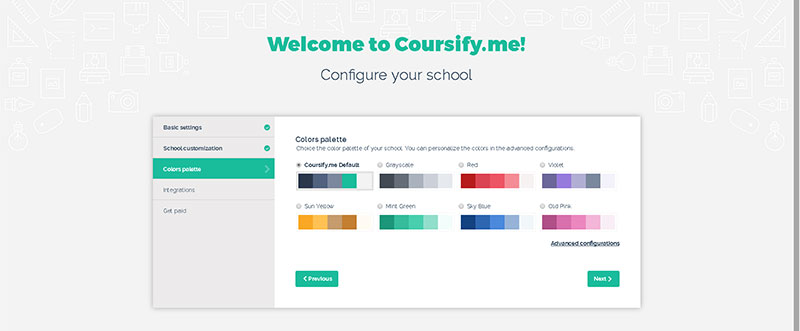
Coursify.me allows you to customize your school with your logo, images and color, maintaining its own visual identity. Thus, it is as if you had your own website and your students may find you more easily.
The next step is to set with what other platforms you would like your school make integration.
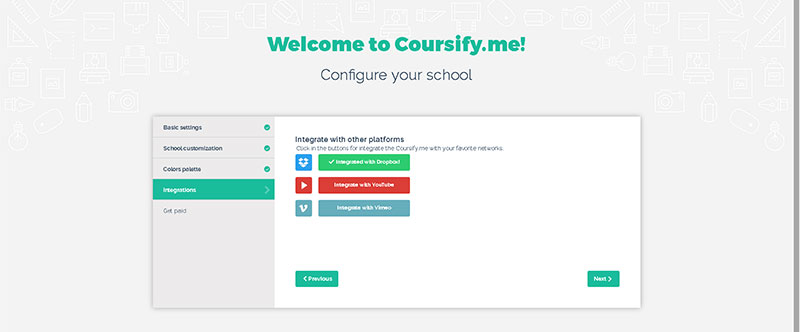
Our platform allows integration with Dropbox, YouTube and Vimeo for you to upload directly to our system content saved on these platforms. In this part you choose to enable the integration with these channels. But do not worry, when creating your course will be available also the option to upload material saved on your computer.
To wrap up, set the form of payment.
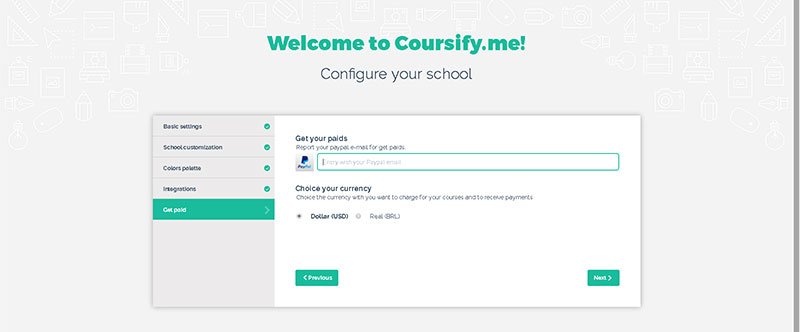
Coursify.me has integration with PayPal for you to receive payments in dollar or real, as you prefer.
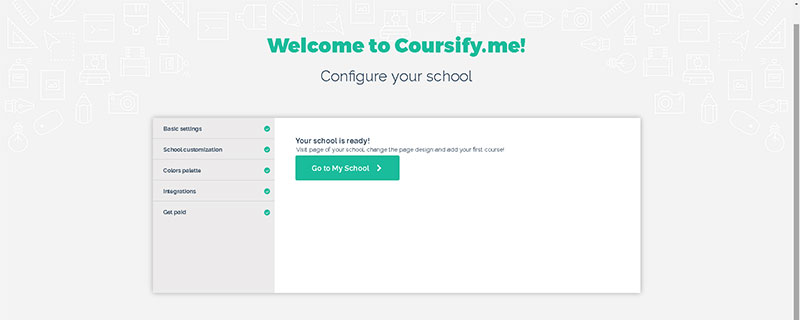
Done this definition, voilà, your school is configured and ready for you to enter your first course.
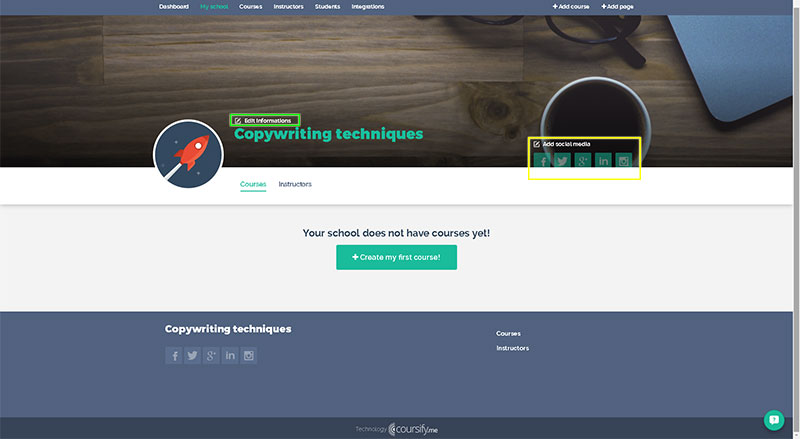
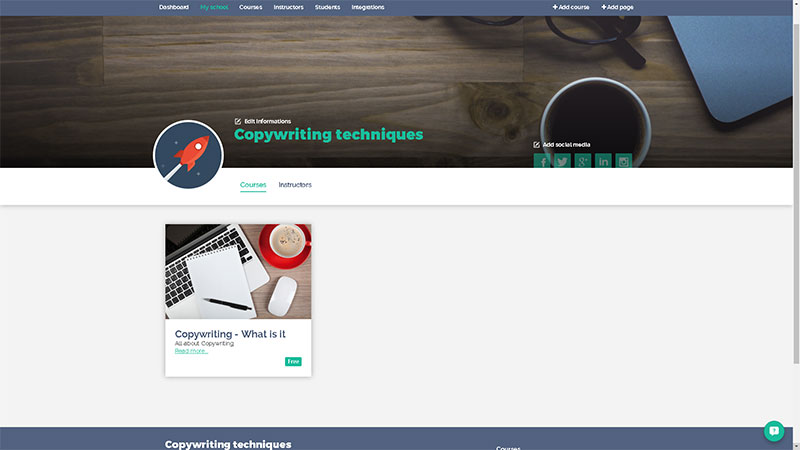
Even after you made the initial settings, if you do not like something you can go on “Edit Information” to change text, image and whatever you wish. You can also add your social networks to facilitate the disclose of your school.
The next step is to create your first course. Once you click on the button indicated, the following screen will appear:
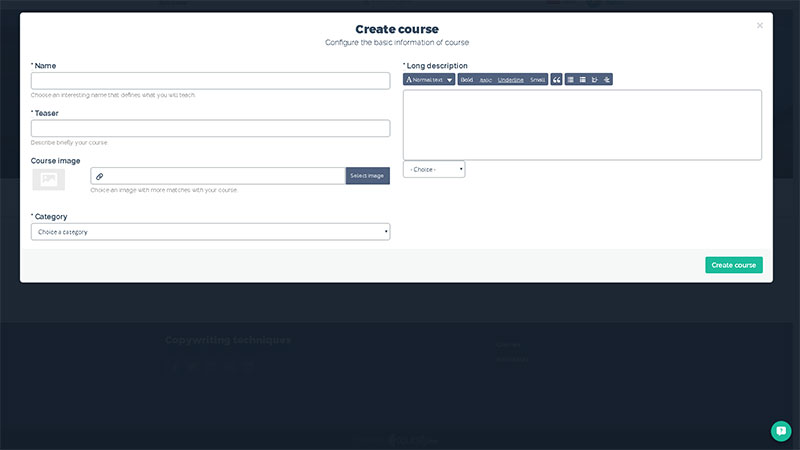
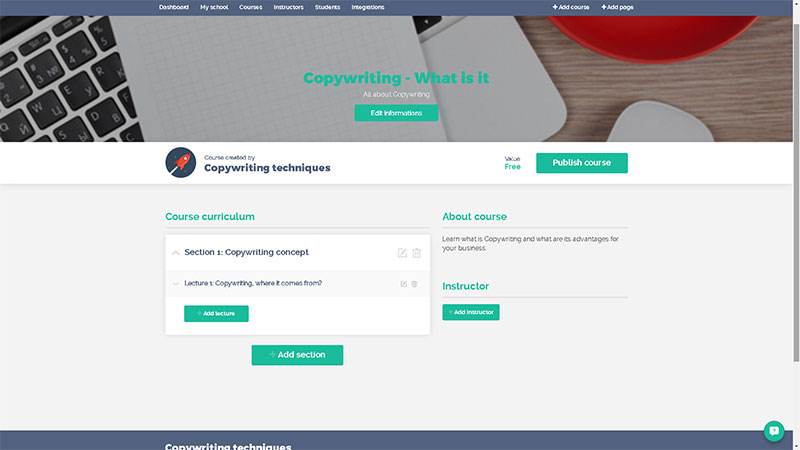
Here you enter the key information about the course, such as name, description and category to which it belongs. To exemplify, we created a school of Copywriting within the category Communication and Marketing, done that, the course page is automatically created.
With the page ready, it is time to enter your content. All you have to do is click on the button “Add Section” to appoint what will be the first subject to be taught.
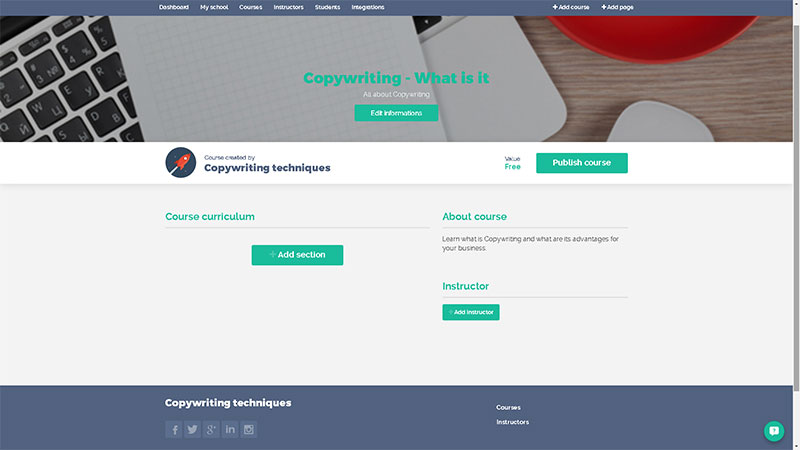
Done that, go to “Add lecture” to upload content regarding your first class.
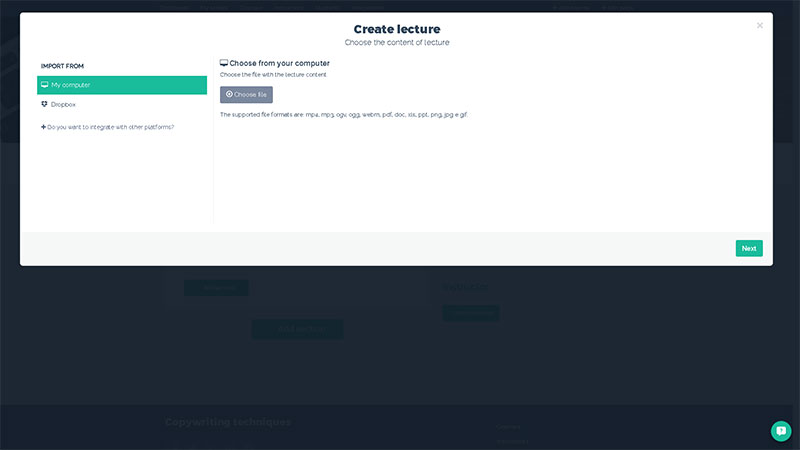
Here you select the option that is hosted your material. Can be one of the platforms that you selected for integration (Dropbox, Vimeo or YouTube) or your own computer. After your contents have already loaded, a new screen will appear to add the additional information.
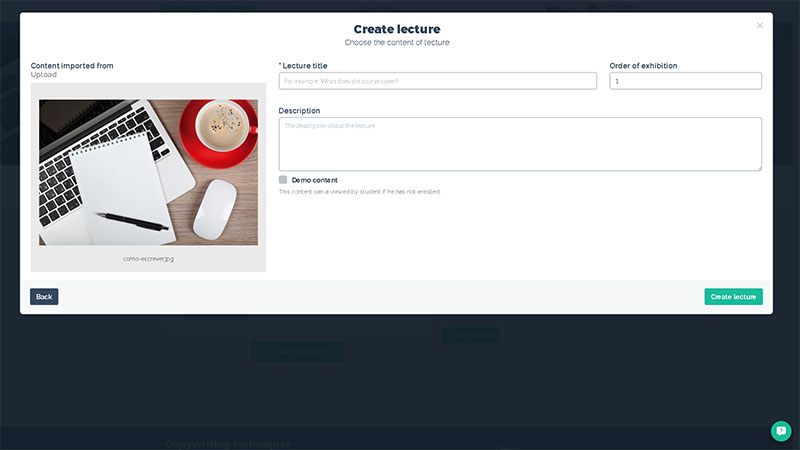
And ready, your first class is on! If you want to add more sections or lectures, simply repeat the same procedure.
For that you have complete control over your course, students enrolled, access and other management information, click on “Dashboard” button that appears in the menu.
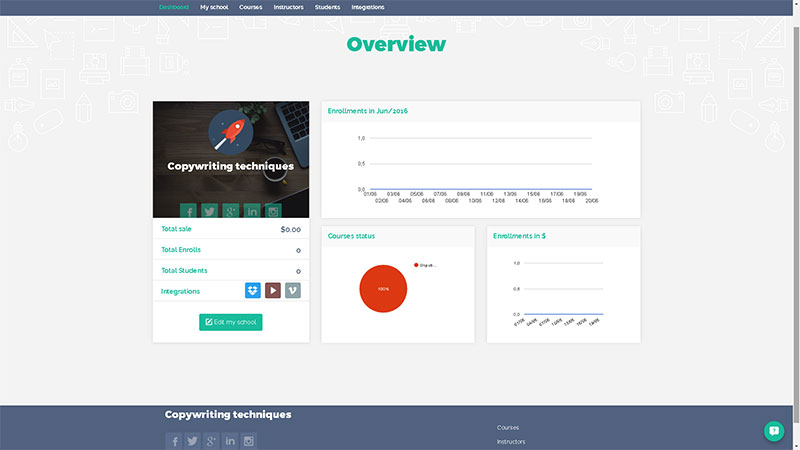
Accompanying the other buttons on the menu, you can click on “My school” to have an overview of the courses that you have enrolled.
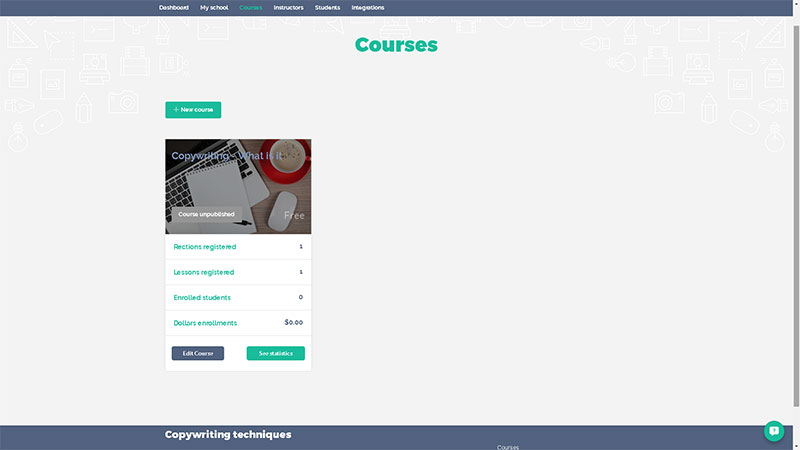
For detailed information about your course, click on “Courses”.
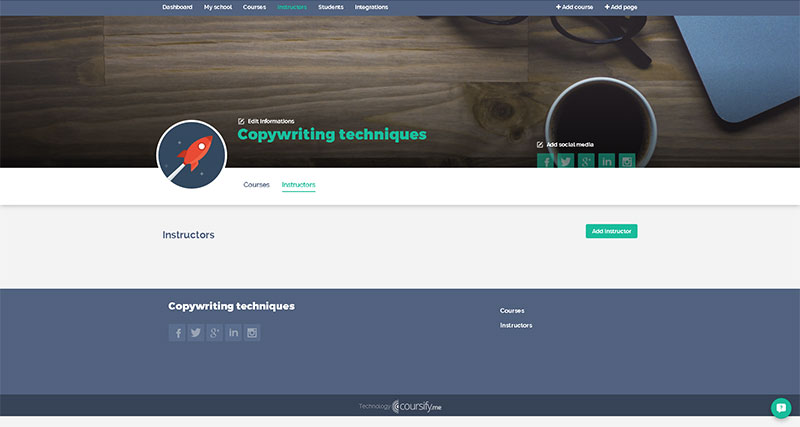
Coursify.me also allows you register one or more instructors, making clear to your students who are and what is the curriculum of each teacher responsible for contents offered. Click on the “Instructors” button to add this information.
As you can see, the Coursify.me allows any user to create schools and online courses in a very easy way.
Our system is intuitive and simple to navigate, and everything you need to use it is an electronic device with access to the internet.
Fast, pleasant and efficient, the Coursify.me is a complete solution for online education. Give us a hello through the e-mail hello@coursify.me or visit our website to learn more about what we have to offer and what are our plans of signature. But before that, if you prefer, register a course in our platform completely free and see for yourself why Coursify.me is exactly what you were looking for.


